Crispy and Juicy Air Fryer Chicken Recipe
Air fryer chicken has become one of those lovestruck kitchen hits—fast, flavorful, and impressively crispy—yet getting it just right still trips up many home cooks. The goal? A golden, crunchy exterior with all the juicy tenderness tucked safely inside. But between inconsistent cooking times, overcrowded baskets, and uncertainty about oil use, nailing that balance can feel a bit tricky. This guide explores the nuances of crafting crispy and juicy air fryer chicken, weaving in data-informed tips, real-world feedback, and a touch of unguarded conversation—because hey, we all mess up the first time.
Understanding the Basics of Air Fryer Chicken
Why Air Fryers Work (But Can Also Mislead)
Air fryers function like mini convection ovens, circulating hot air rapidly around food. This method creates the golden-brown crisp without submerging the chicken in oil . The caveat? Hot air evaporates moisture quickly, so timing and technique become essential to avoid dryness or undercooked centers .
Common Mistakes That Undermine Crispiness and Juiciness
Here’s where friendships with your air fryer often go sideways:
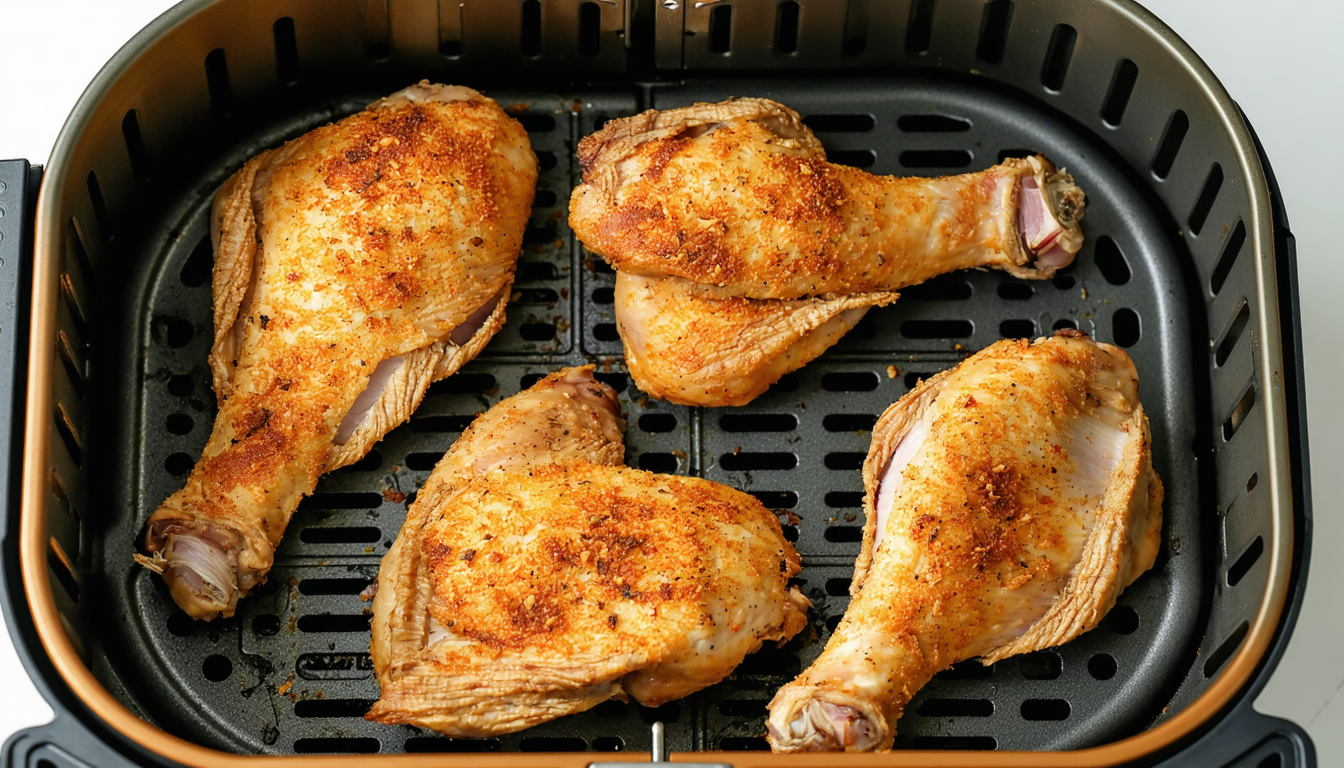
- Overcrowding the basket. Without proper airflow, you’re asking for soggy results .
- Skipping preheat. A cold basket delays searing, leading to uneven textures .
- Forgoing oil entirely. Even a light mist can brighten a crust and enhance browning .
Practical Tips for Crispy and Juicy Results
Preparation: Brining, Drying, Seasoning
Brining—wet or dry—can be a game-changer. It loosens muscle structure and locks in moisture. A brief 20–30 minute dry brine does wonders . After that, pat the chicken dry. This step ensures better adhesion of seasoning and improved browning . Season boldly—think garlic powder, paprika, herbs—while avoiding overly sugary rubs that can burn .
“Preheating your air fryer is a small step that makes a big difference. It ensures even cooking and helps the chicken cook faster.”
Preheating and Airflow
Preheat for 3–5 minutes at around 375°F (190°C) to get the cooking surface sizzling and ready—skip it, and the chicken may warp or cook unevenly . Give each piece breathing room; crowded baskets equal uneven results .
Cooking Process: Oil, Temperature, and Turning
Use a spritz of oil—not a slick, just a light mist—to boost crispiness without drowning the chicken . A general temperature range of 375–400°F accommodates most cuts, depending on whether they’re breaded or naked . Flip the chicken halfway through to ensure even coloration and doneness .
Timing and Safe Internal Temperature
Use a meat thermometer. Your target is 165°F (74°C)—anything less risks undercooked poultry, anything more dries it out . Timing varies by cut:
- Boneless breasts: 12–20 minutes
- Bone‑in thighs/drumsticks: around 18–30 minutes
- Wings: about 20–25 minutes
Resting Matters
Once done, don’t slice immediately. Let your chicken rest 5–10 minutes—this redistributes the juices and helps maintain moisture and crisp texture . Reddit users frequently stress this small step as underrated but impactful .
Real-World Input: Home Cooks Share Their Wins and Flops
In a candid Reddit thread, one user described crispy-skinned thighs cooked at 400°F for 20 minutes (flipped at 10), seasoned simply—no oil, no preheat—and was amazed by the result . Others chimed in: try baking powder for crispy skin, or let the chicken air-dry overnight for even better texture .
Another shared how a soggy crust came back to life: after slicing, a quick return to the air fryer perked the crisp back up—proof that even mistakes can be salvaged with creative fixes .
These stories reflect the unpredictability of real cooking—no two kitchens or machines are the same—but they reinforce that simple adjustments often save the day.
Sample Cook Plan for Air Fryer Chicken
- Dry‑brine chicken for 20–30 minutes; pat dry.
- Season and lightly mist with neutral oil.
- Preheat air fryer at 375–400°F for 3–5 minutes.
- Cook, flipping halfway, aiming for internal temp of 165°F.
- Rest for 5–10 minutes before cutting or serving.
This framework works for thighs, breasts, wings, and even nuggets—adjust times based on thickness and bone‑in vs. boneless.
Conclusion
Mastering air fryer chicken isn’t about pushing a button—it blends smart prep, the right heat, just enough oil, real-time adaptation, and, yes, letting the meat rest. Preheating, space, seasoning, flipping, and a mindful eye on temperature all play key roles. With these insights, you’re armed to tackle the golden-crisp, juicy-bottomed chicken challenge. Now go test your next batch and trust that little missteps often lead to better meals.
FAQs
FAQs
1. Can I skip preheating my air fryer?
Skipping preheat may save time but often leads to uneven texture and slower cooking. A quick 3–5 minute preheat helps crisp the outer layer right from the start.
2. How much oil do I really need?
Just a light spray or brush is enough—enough to aid browning, not enough to fry. Excess oil can cause sogginess or smoke.
3. Do I need to flip the chicken during cooking?
Yes, flipping ensures even browning on all sides. Most pieces benefit from a halfway flip, especially breasts and thighs.
4. Why is my chicken still dry even when it reaches 165°F?
If the internal temp is correct but the meat is dry, chances are it overcooked due to uneven thickness or lack of moisture-retaining prep like brine or resting.
5. Is brining essential for juicy results?
Not essential, but highly recommended. Even a brief 20–30 minute brine helps retain juices and enhances flavor when done right.
6. How long should chicken rest after cooking?
Let it rest for about 5–10 minutes. This lets juices redistribute and prevents them from leaking out when you cut into the meat.
Visited 1 times, 1 visit(s) today
Source link